Just for fun I thought I would document the process of making a laminated Stripey Swirly Twist Pen.
Start Here
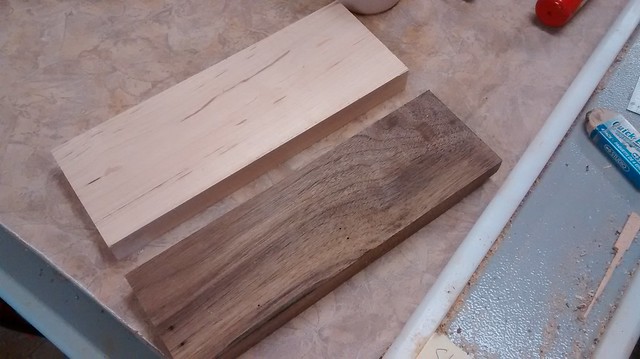
At the table saw, I ripped a bunch of thin strips from these maple and walnut scraps I had lying around.
Watching Glue Dry
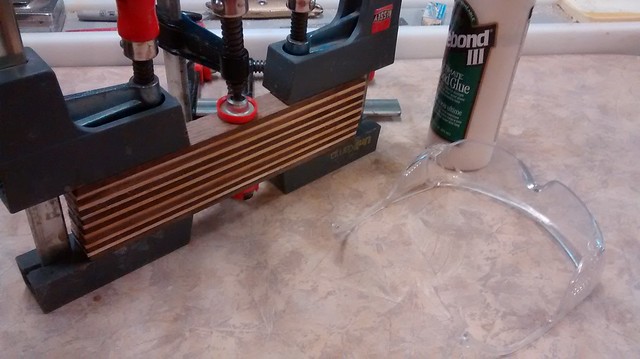
The maple and walnut strips were alternately glued together and clamped up to dry overnight.
Laying Out the Blanks
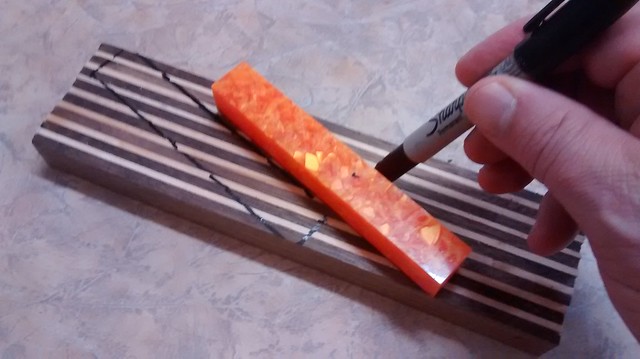
Using an acrylic blank I had nearby, I layout the blanks at an angle. Should be able to get two or three pens out of this.
Ready to Cut
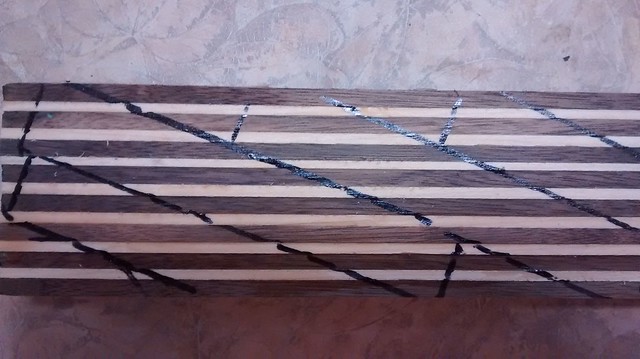
Shows the lines for cutting at the bandsaw.
We Have Pen Blanks
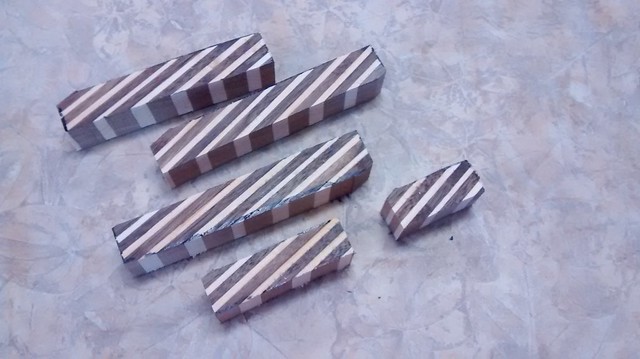
Blanks were cut at the bandsaw. Two full length ones, for sure, and I can probably use the other bits for something, at least one more pen I think.
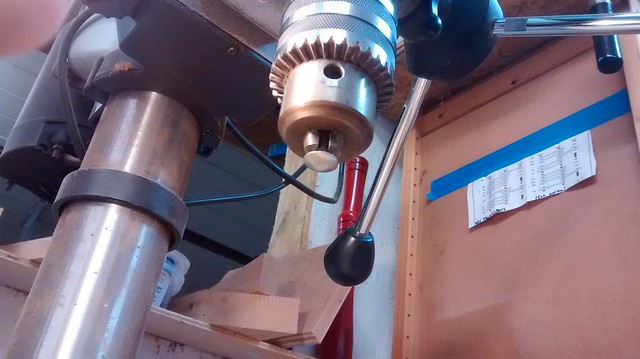
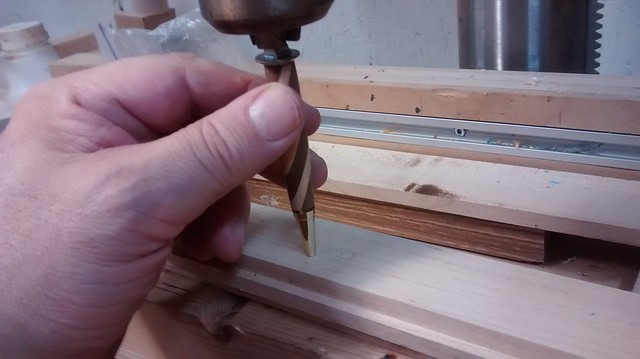
Ready for Brass
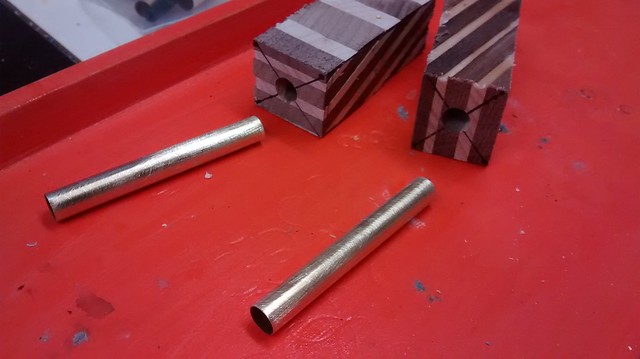
Blanks were cut to just a bit longer than the tubes, a 7mm hole drilled through each at the drill press, and now the tubes can be glued in.
Tubes In and Trimmed
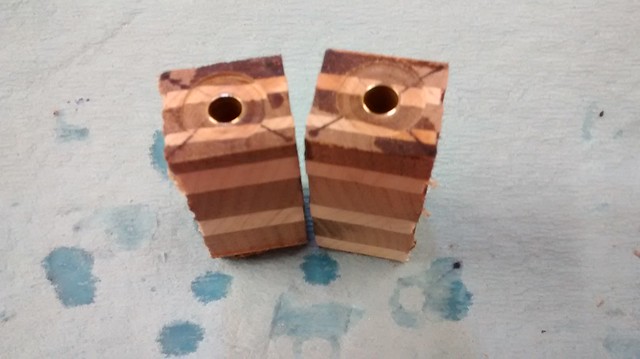
Brass tubes are glued in place, and the ends trued up with the barrel trimmer.
Ready for Turning
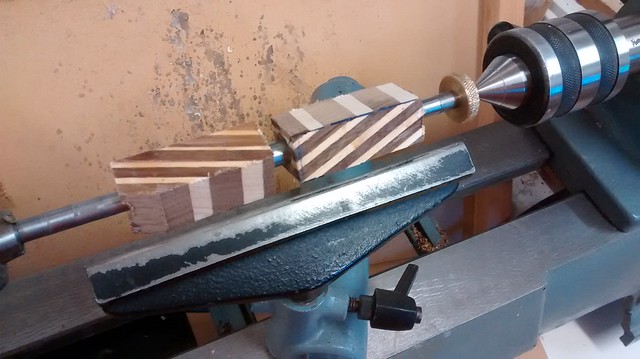
Now comes the fun part. Shields UP!
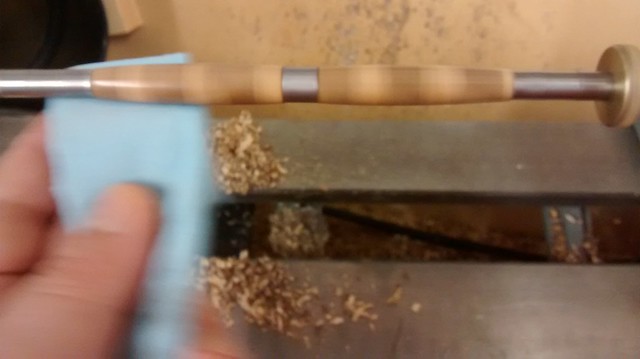
Turn Turn Turn
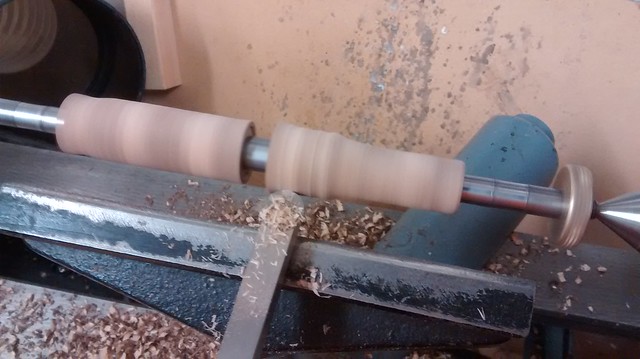
Only with the flat-bottomed Easy Wood Tool, and only after the initial rough turning to round, would I attempt the one-handed lathe action photo.
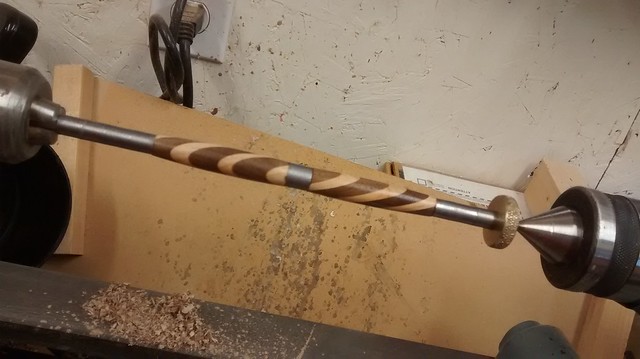
Turning Done
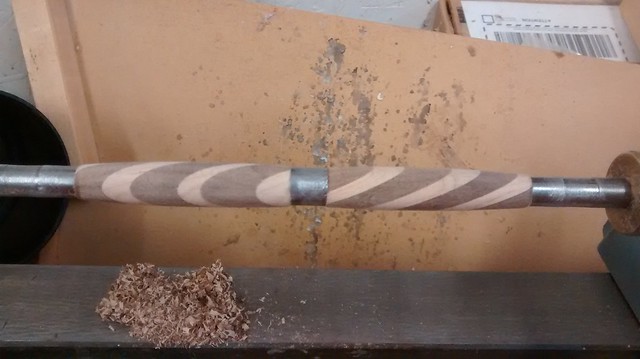
Ready for final sanding, waxing, and polishing.
Final Wax
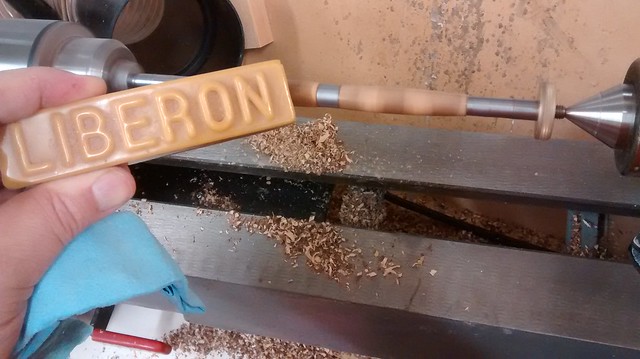
After numerous rounds of sanding, followed by the Australian part of the operation (EEE Ultra Shine and Shellawax Polish, “Australian and Proud Of It” – them, not me) I apply a final top coat of Liberon wax stick.
Final Polishing
Buffing up the last coat of wax.
Finished Finishing
Finished with the lathe, ready to come off and be put together.
Ready for Assembly

This kit has a manageable number of pieces, unlike some of the fancy schmancy kits, like rollerballs.
Flattened Bolt
Grinding a flat spot on the head of a bolt and chucking it in the drill press makes for a pretty solid pen press.
Pressing the Nib
And if you’ve ever had your nib pressed, you know how painful that can be.
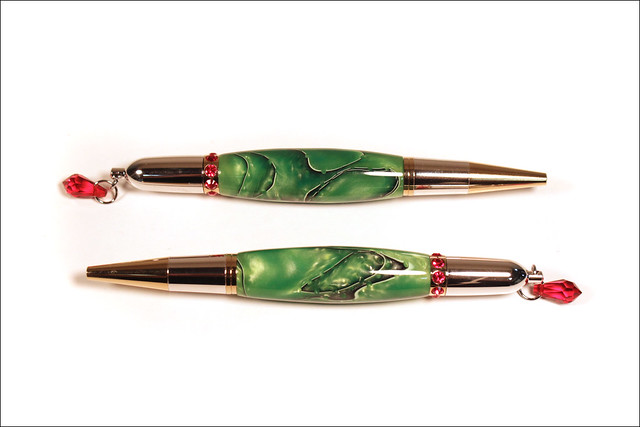
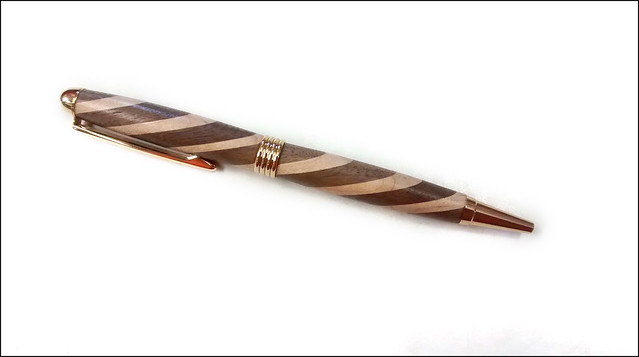
Stripey Pen – Final
(Click any photo to view larger on Flickr)