Category Archives: All

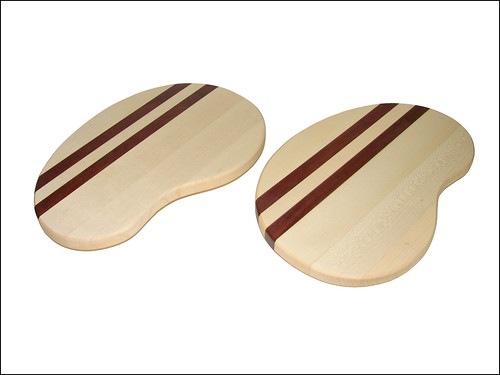
Big Stripey Boards

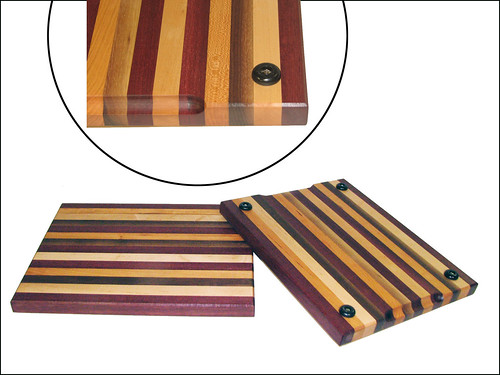
This is a new (to me) design for a cutting board, and I REALLY like how it turned out… it’s about an inch and an eighth thick, or 9/8 as we drummers like to say, and made of four species of wood… it has little rubber feet as it’s intended to sit out on the counter, and the feet help keep its bottom dry… there’s also a pair of recessed finger grooves to make it easier to grab hold of… and the edges are all chamfered…


Big Stripey Boards, originally uploaded by rgdaniel.

I made two boards from the same lamination: I basically made a two-foot cutting board and then cut it in half before adding the final details… the design is based on an article on Fine Woodworking’s website (although the two-boards-at-once part was my idea)…


Big Stripey Boards, originally uploaded by rgdaniel.

One of these is going in our kitchen as soon as I finish typing this… the other is looking for a home, so don’t be shy… B-)

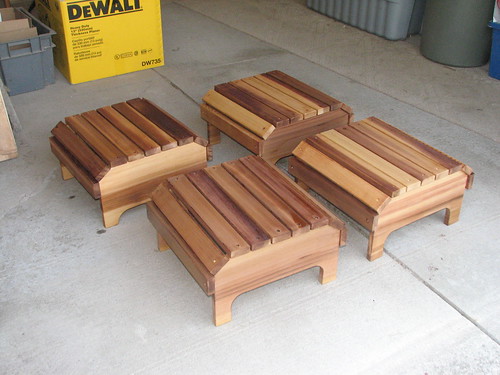
Space Invader Footstools

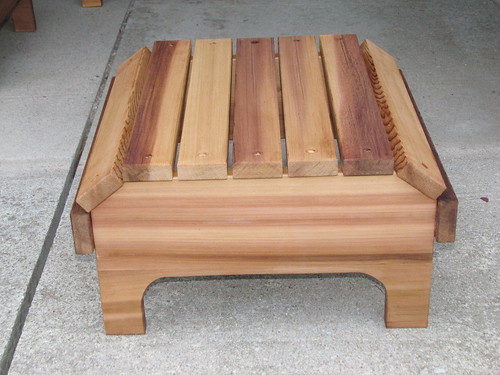
With some nice red cedar left over from the Muskoka Chairs, it seemed inevitable that I would build a footstool or two… or four… it’s *possible* I may even get a fifth, or else I’ll make a couple of small planters or something….


Cedar Footstools, originally uploaded by rgdaniel.

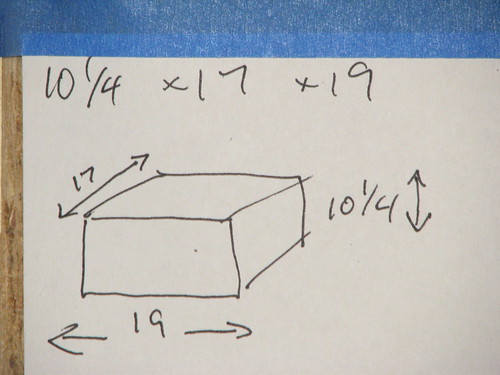
Any decent project is only as good as its plan… or hopefully better… taking my dimensions from an existing crappy old footstool (which will soon be kindling, if I have my way) I taped this detailed architectural drawing to the shop wall, so I could refer to, and deviate from, its intricacies as I went along…


The Best Laid Plans…, originally uploaded by rgdaniel.

I thought at first that my design reminded me of the Android logo …but now I realize it looks more like the blockers from the original Space Invaders


Cedar Footstools, originally uploaded by rgdaniel.

Screenshot from the original Space Invaders

Screenshot from the original Space Invaders


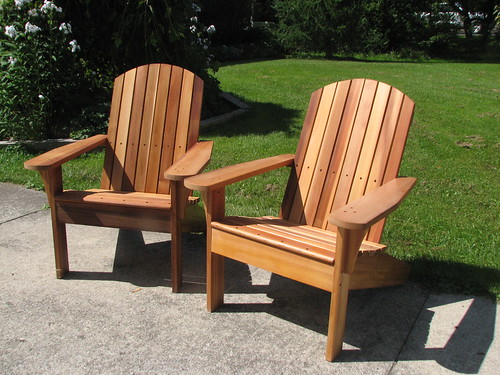
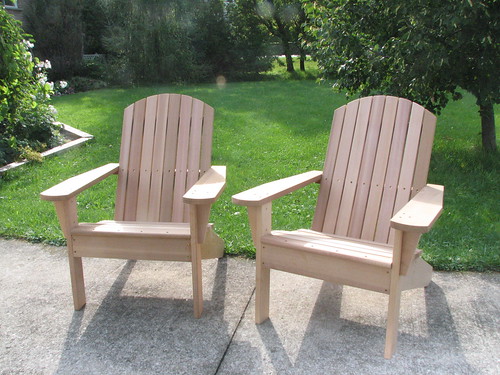
Two More Muskoka Chairs


Two More Muskoka Chairs, originally uploaded by rgdaniel.

These are for my mother-in-law, delivered today. Just a quick record shot before I loaded them up to take over to her. They look pretty much exactly like the two I built for us, with one exception: I put a small curve in the arm rest support. Next time, if I build any more, I’ll probably put a curve in the front stretcher.

Muskoka Chairs, with varnish


Muskoka Chairs, with varnish, originally uploaded by rgdaniel.

I finally decided to add just a single coat of marine spar varnish, thinned 50-50 with turpentine so it would soak in more, and better to protect the wood. I elected to stop there, rather than build up a “film” finish, because such a finish WOULD eventually break down in a way that would require scraping or sanding to remove, whereas the more deeply penetrated finish of the single thinned coat would be less likely to break down in an unsightly way… That’s the theory anyway… we’ll see how it goes in a year or two…

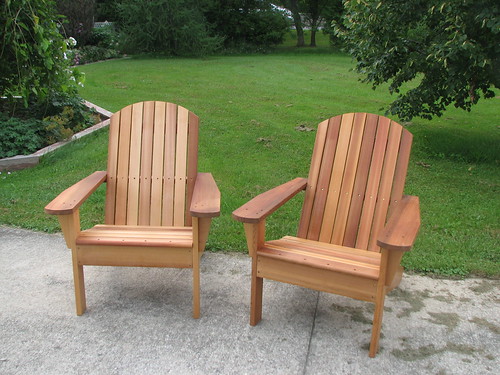
Muskoka Chairs


Muskoka Chairs, originally uploaded by rgdaniel.

I managed to finish these two Muskoka chairs (also called Adirondack chairs) in pretty good time. We haven’t deployed them yet, though… it’s hard to let go. I MAY still want to consider applying some kind of finish. The two chairs I built last year have weathered to a nice grey, so maybe we’ll just go with that again. Nothing lasts forever, and once you add a finish of some kind, you begin the process of DEGRADING that finish, and in two years, tops, you’ll be sanding and RE-finishing… So I’ll probably just let them be….

When I get some more of this lovely Western Red Cedar, I can start in on the next two — for an actual paying customer!

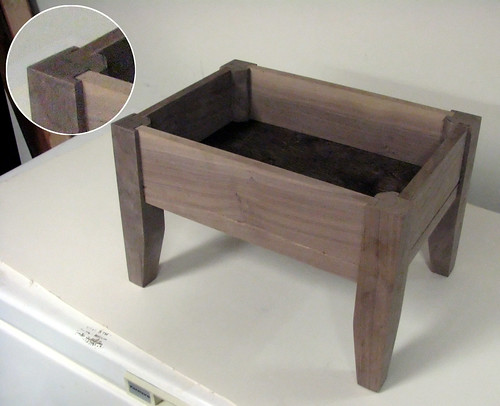
Walnut Footstool – Dry Fit


Walnut Footstool – Dry Fit, originally uploaded by rgdaniel.

Shown here held together only by gravity, friction, and maybe static electricity, this is a dry fit of my work-in-progress black walnut footstool. The lid will be 3/4-inch Baltic Birch, upholstered. The floor bottom is also Baltic Birch, and has had a coat of stain already so it shows darker. The walnut should darken up just from the poly finish it will get.

I should probably notch out for the hinges BEFORE I glue this puppy together, I’m just thinking now…

Click here for larger size